Tattoo preview
Shoulder Tattoo Preview
The shoulder is a classic placement — a broad, rounded canvas that flatters bold designs and hides easily under a sleeve. But that roundness is exactly what makes it hard to judge from a flat drawing: a design that looks right on paper can warp over the curve. Because inkPEEK reads the depth of your photo and wraps the design to the shape, the shoulder is where a preview earns its keep.
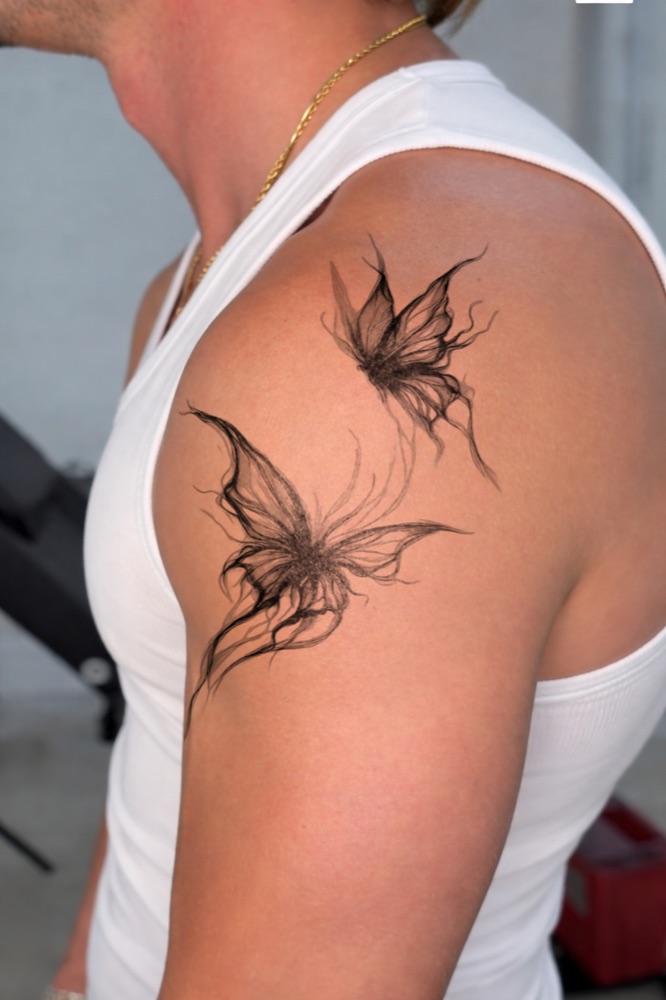
See your own design on your shoulder
This preview was made with inkPEEK. Upload your tattoo design and a photo of your shoulder— the design is wrapped to your skin's depth and lighting, so you can judge size, angle, and placement before anything is permanent.
Free · No sign-up · No photos saved
How to photograph your shoulder for an accurate preview
- Shoot at a slight angle (about 45°) rather than straight on — it captures the roundness the preview wraps around.
- Keep the whole shoulder cap in frame, from collarbone to upper arm.
- Bare the area completely; straps or sleeves cut into the canvas and confuse the crop.
- Ask someone to take the photo if you can — selfies of your own shoulder tend to distort the angle.
Before you commit: the shoulder as a tattoo spot
The shoulder and upper back are manageable for most people — it gets tougher closer to the shoulder blade.
Full pain chart by body partStyles that work well here
- Traditional — the classic bold-outline look was practically made for the shoulder cap
- Japanese — large narrative pieces flow naturally from shoulder toward chest or arm
- Neo-traditional — rich color and depth fill the rounded area well
Shoulder preview FAQ
Will the design look distorted over the curve?
That’s the point of previewing here — inkPEEK wraps the design to the curve in your photo, so what you see is how it sits on the rounded shape, not a flat sticker.
Shoulder cap only, or down the arm too?
Both work. Frame your photo to include however far you’re considering — many shoulder pieces extend into the upper arm, and you can test both extents in the editor.